USER GUIDE: How to start with the Channel Manager
Hi there! You have just subscribed to our free trial period. Here we show you what to do on your first day. This guide explains in a very simple way how to start with our Channel Manager and how to synchronize the different booking portals where you currently list your properties.
1) CREATE YOUR PROPERTIES. Do not panic! It's just typing the names so you can identify them.
2) CONNECT YOUR PORTALS. This step will import the reservations of the portals in Smoobu.
3) ENTER YOUR DIRECT BOOKINGS AND BLOCKED PERIODS. You must inform Smoobu if there are periods when your property is not available or where you have direct bookings.
Prefer a video? Click here
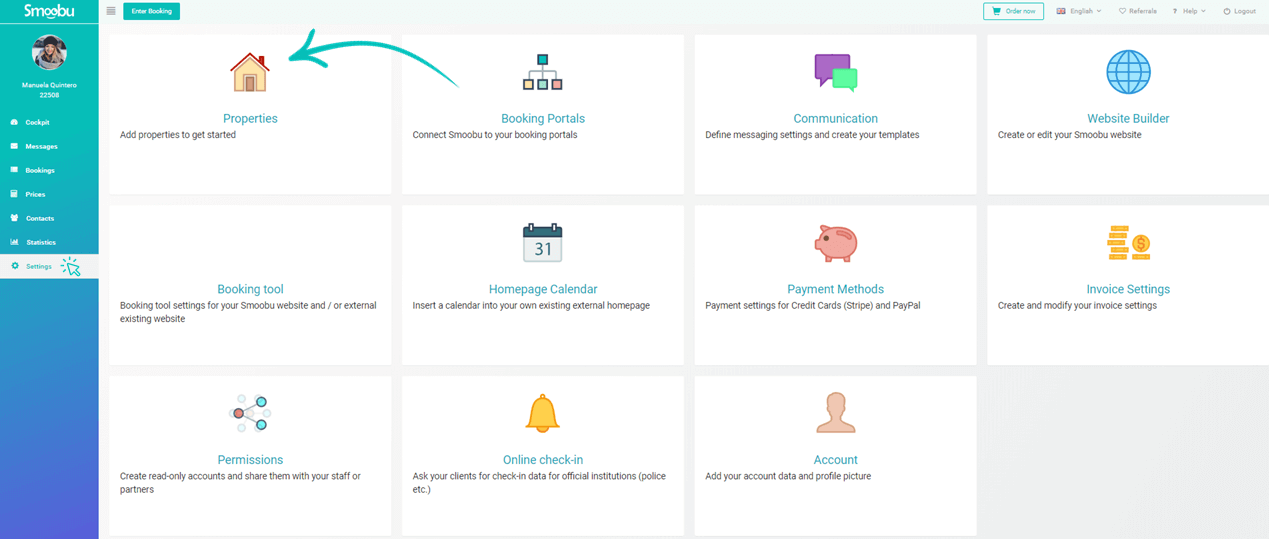
1a) Create your properties. Go to Settings - Properties. Important: each of your units for rent should be entered in Smoobu as a property. If you rent rooms, you must enter them all. If you have a structure with units and subunits, we recommend you to read the detailed description on how to create properties
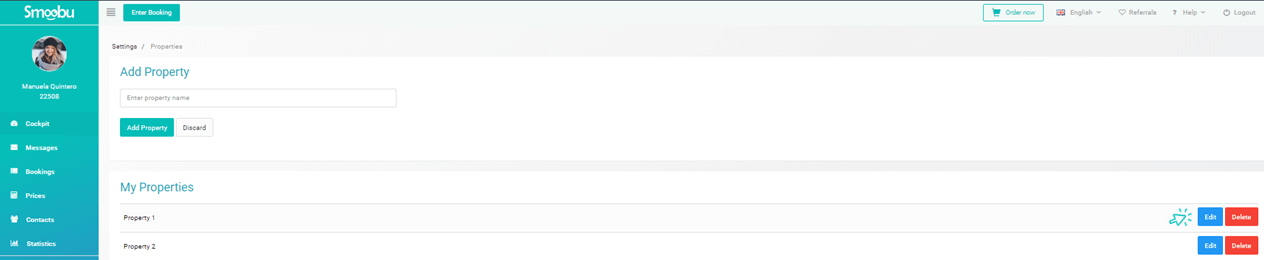
1b) Click on “Edit” next to Property 1
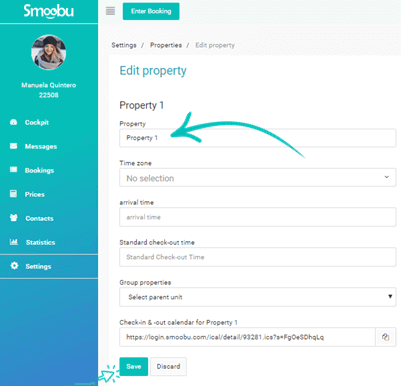
1c) Change the property's name and Save
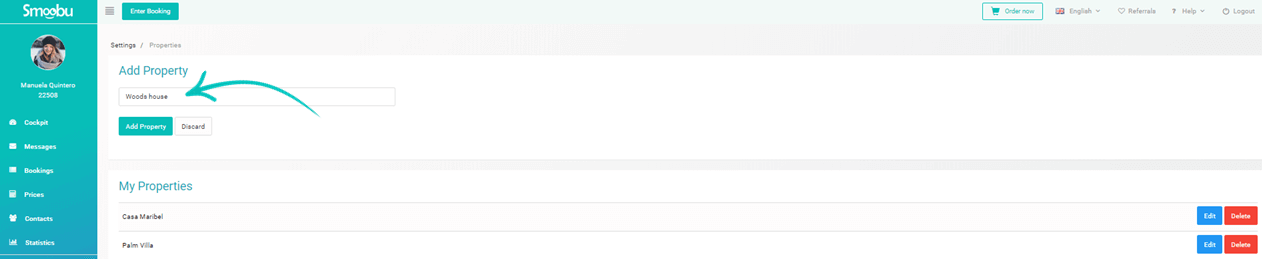
1d) If you have more than one property, add the names of the others and click on “Add Property.”
Once you have added all your properties, it's time to synchronize the different booking portals.
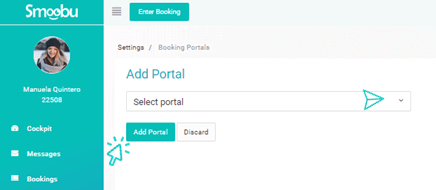
2a) Connect your portals. Go to Settings - Booking portals
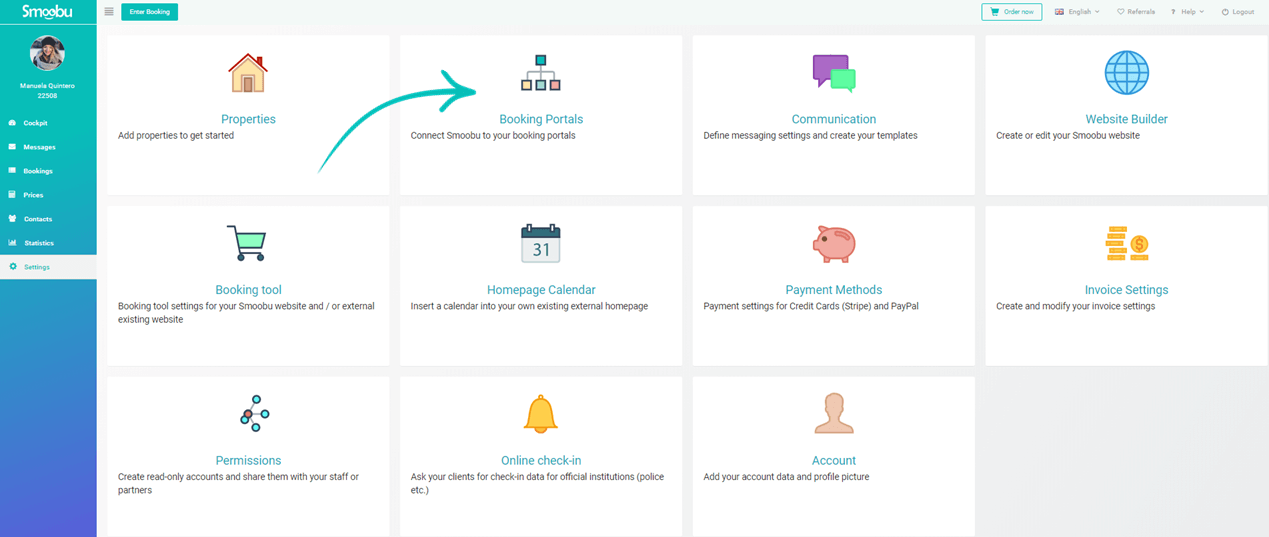
2b) Click on “Select portal”, pick the channel and click on “Add Portal”
2c) Follow the given instructions carefully to connect to each booking portal. Each of them has its own connecting procedure
3) Enter your direct bookings and blocked periods
Smoobu will import bookings native bookings from each booking portal. For instance, we'll import from Airbnb bookings which have been done by Airbnb guests - not manually blocked periods that you've entered on Airbnb's calendar. So remember, your central calendar is now Smoobu. If you have periods that should not be available for booking (either for maintenance reasons, direct bookings, walk-ins or other reasons) you should report them to Smoobu.
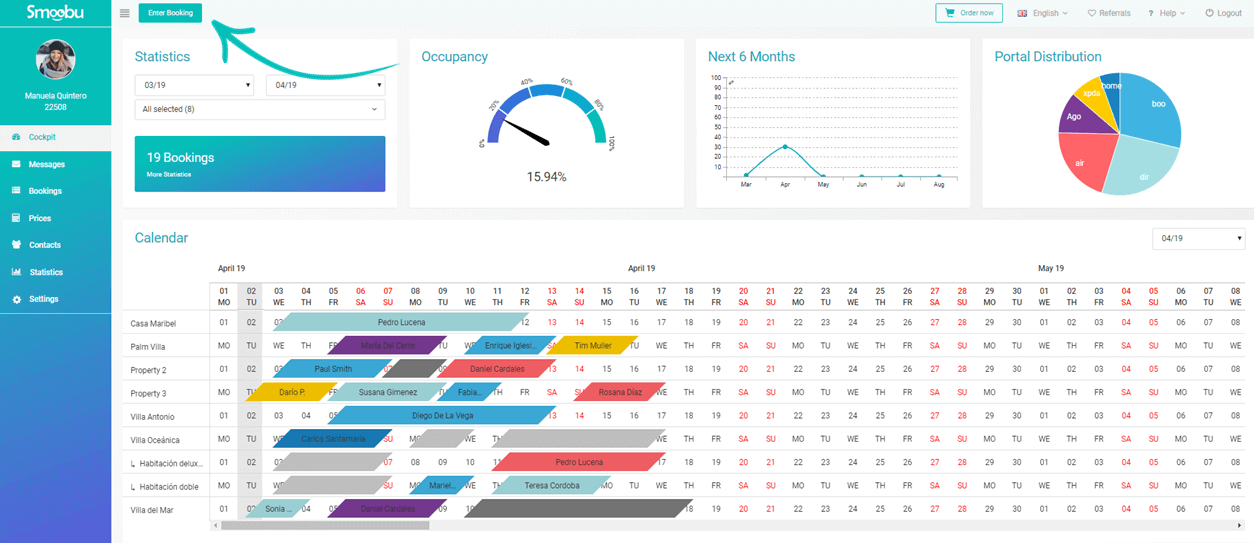
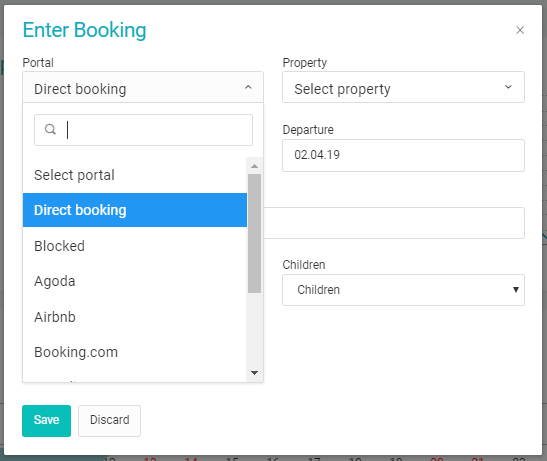
3a) Click on "Enter booking"
3b) Select "Direct booking" or "Blocked" (period), according to your needs
This is it! Now you just have to check that your Smoobu calendar is complete. Then, optionally, you can write us an email so we can send the initial availability to your portals. In this way, we will replicate the Smoobu calendar in your connected booking portals. And we're done! Now you can start enjoying the automatic synchronization of your calendars.
Are you looking for more channels where to list your properties?
Find the booking portals list here
Leave a comment