USER GUIDE: how to create your own vacation rental website with just a few clicks
When you manage a vacation rental it is very important to also have your own website for several reasons. First, because it gives credibility to your property listings and you make sure that your potential clients receive as much information as possible. Also because it allows you to receive reservations (and payments) directly, without your potential customers having to leave your website to book in the reservation portals.
Follow these instructions to build a website for your vacation rental with an occupancy calendar and booking engine.
Before starting, make sure you have created your properties in Smoobu (see step 1 in "USER GUIDE: How to Start with the Channel Manager")
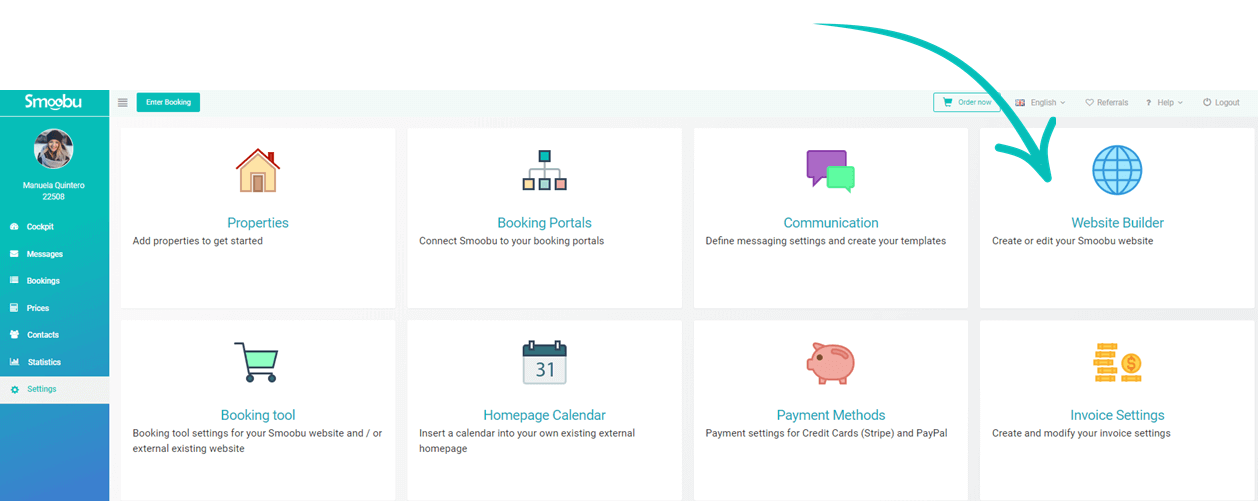
1. Click on “Settings” → “Website Builder”
2. Activate “Public Website” and click on “View Website”
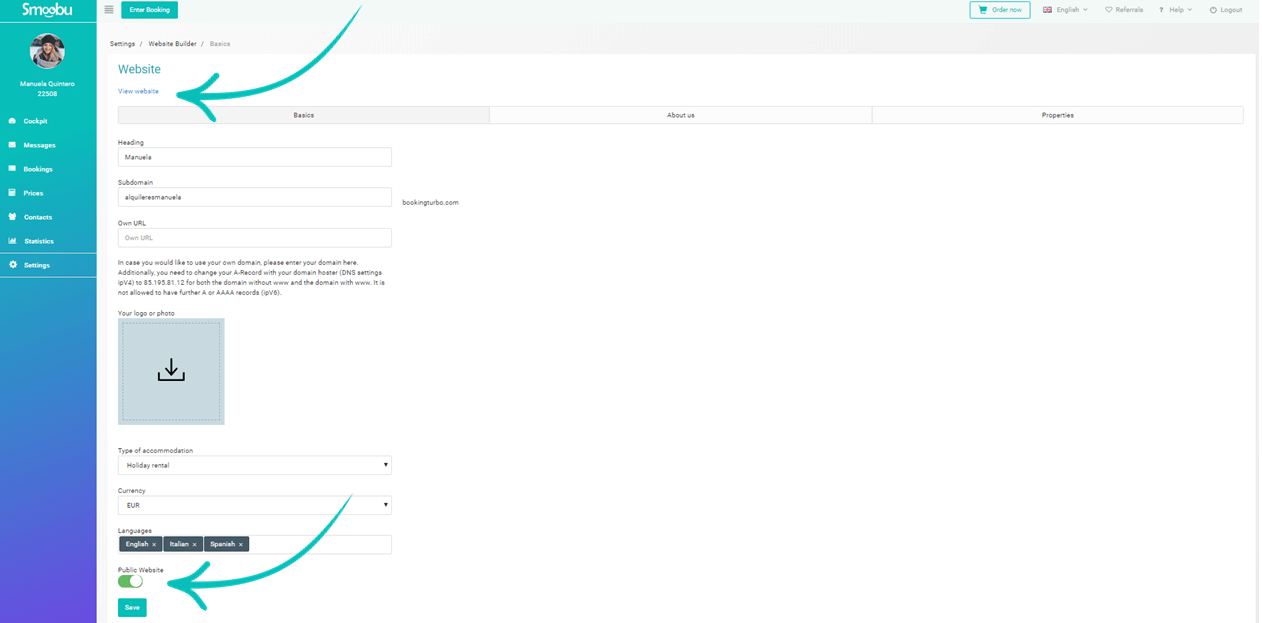
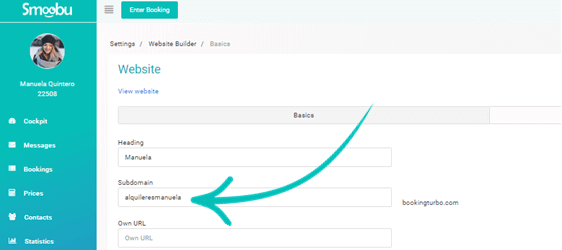
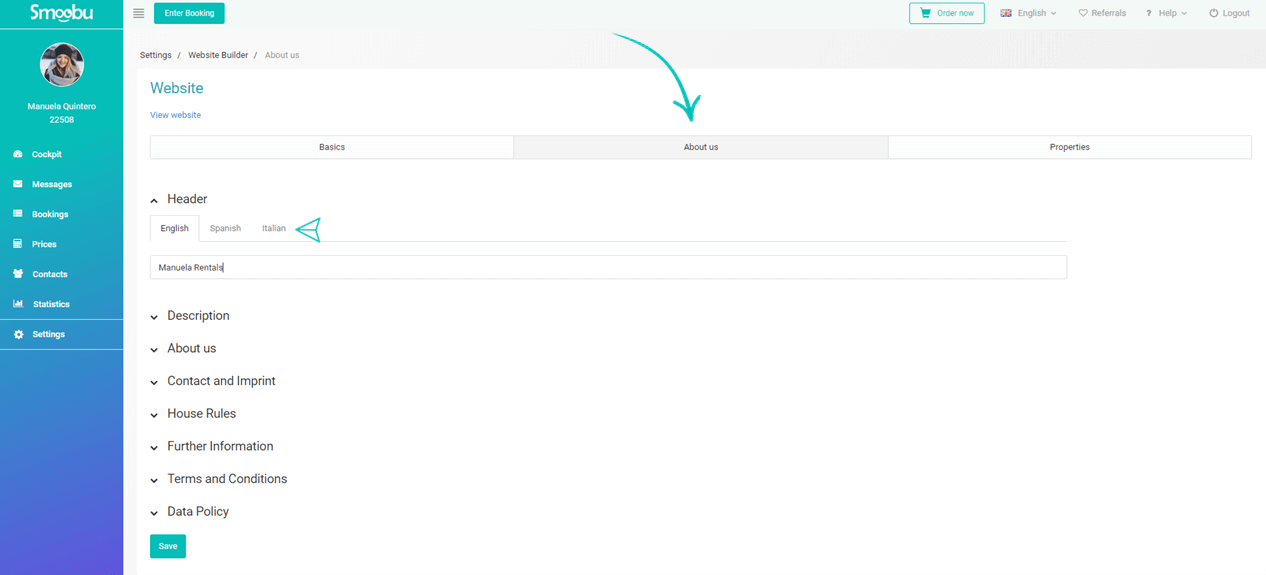
3. First enter the name of your accommodation in Heading, which will be visible on the home page of your site. The page that opens will have as domain an alphanumeric code that the software is created automatically. You can change the code under "Subdomain" with the name of your accommodation as in the example "alquileresmanuela". Note that the extension "bookingturbo.com" can not be changed nor deleted.
If you have purchased a domain, follow our instructions to connect your domain to Smoobu. If you have not bought it yet, do not worry, skip this step. It is not necessary to buy a domain to start creating the Smoobu website, so you can continue and then decide whether or not to buy a domain in the future.
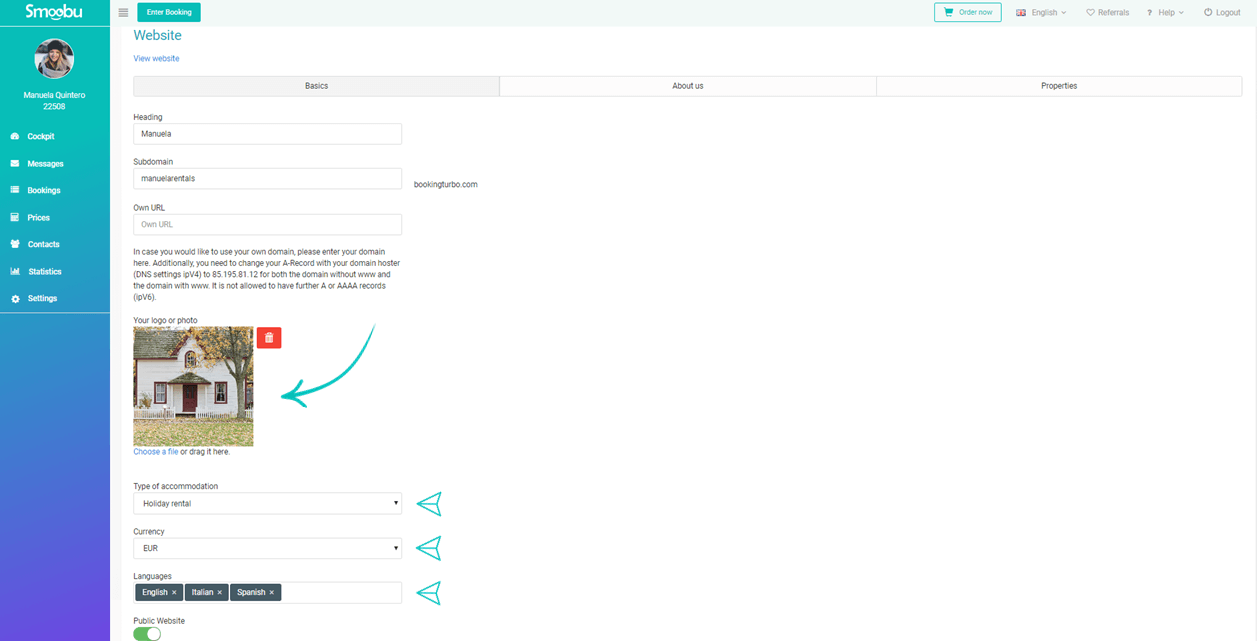
4. Then you can enter your logo, property type, currency. Your logo should be squared and smaller than 500 kb, jpg or png file. You can enter new languages or delete those that have been inserted by default. Translations of your site in the languages you choose should be done by you. There are very good online tools that can help you.
5. When finished, click on "Save" and then "View website".
6. Now we can enter all the general information about the accommodation on the website. To do this, simply click on "About us". The information can be entered in all previously selected languages. When you have finished, click on "Save". By clicking on "View website" you can see the updated website with all the information.
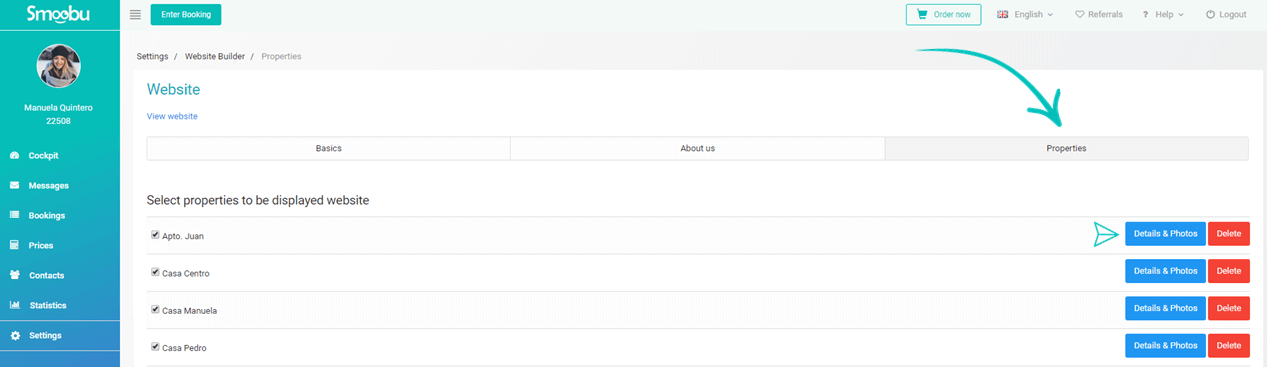
7. After entering the general information, it is time to enter information about each rental unit. Click on "Properties" as shown below. You can select which properties to display on your web page and which not, with the box on the left side of each property's name. Then, click on "Details and photos", as shown below, to enter all the specific information for each unit. Remember to always save your changes.
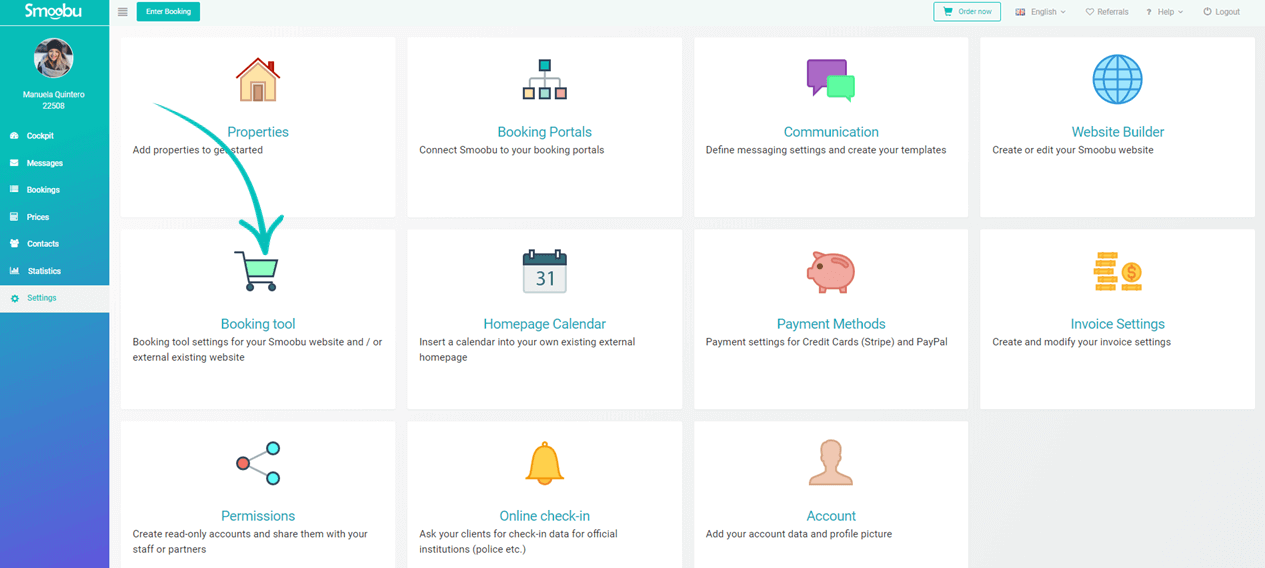
8. Now you should set up the booking engine. Go to "Settings" → "Booking tool". Read how to set up the booking engine
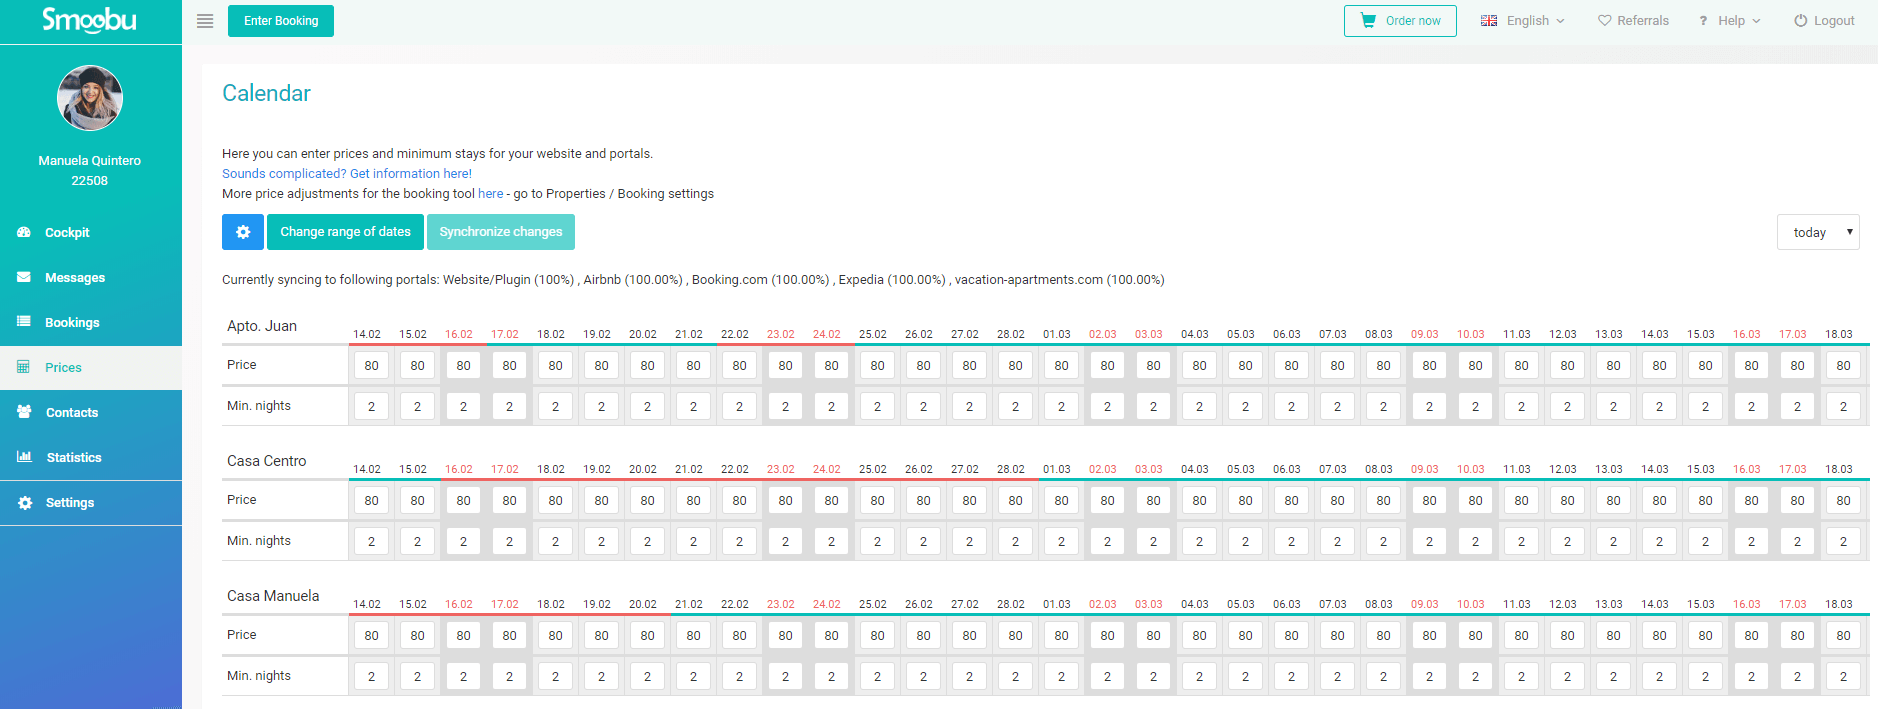
9. Now enter the prices. You must enter the prices so that your accommodation can be booked. Click on prices in the menu on the left. Example: The properties below have a base price of € 80 and a minimum stay of 2 nights. Click here to read the price sync guide
Great! You've created your own website. Now you can start receiving bookings!
Leave a comment